
Docmosis Cloud is a template-based document generation service that can be used via a REST API.
This article is a step-by-step guide to:
- creating a Typeform
- sending data collected by the Typeform to the Docmosis Cloud service using Zapier
- generating a PDF document with the data
Try the Typeform demo to see how the integration works. Completing and submitting the web form will trigger the generation of a PDF letter, like this:

Download the generated document.
Setting up Docmosis
Step 1: Login to the Cloud console
If you don't already have a Cloud account, you can sign up for a free trial here.
Once you have an account, log in to the Cloud console.

Step 2: Download the sample template
Docmosis templates are ordinary Microsoft Word documents, with special placeholders that Docmosis replaces with data when it generates the document. Download the the sample template below. The template is ready to use, without any further changes.

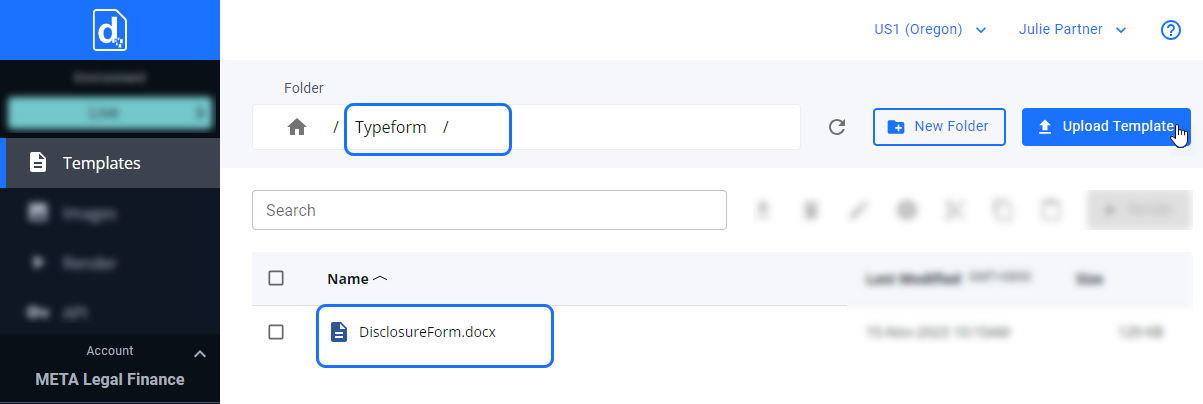
Step 3: Upload the sample template
Create a new top-level folder to help organize your templates. In this case the folder is named Typeform.
Upload the Disclosureform.docx template to the new folder.
Step 4: Get the Docmosis Cloud access key and API URL
You will need your access key and URL when setting up the call to Docmosis Cloud in Zapier. Copy these to an editor such as Notepad, to be used later.
Note: In this example, we used the US (Oregon) processing location in the Docmosis Cloud service, for storing the template and generating the document. You can use your default processing location, when following this example.
Setting up Typeform
Step 5: Build a new form in Typeform.
Log in to Typeform.
Create a new Disclosure form like this one.
In the workspace, modify a form template or create a new form, follow the My first Typeform - guide to customize your form.

Configure Zapier
Step 6: Set up a Zap with Typeform as the trigger
Log in to Zapier. Click on any of the "Create Zap" buttons.
Click on trigger step then search and select Typeform as trigger from the "Change trigger" pop-up.
- In the "App & event" section choose "New Entry" as Event
- In the "Account" section authenticate your Typeform account
- Choose the desired form in the "Trigger" section
- "Test" to see the form fields populated as data

Step 7: Configure Docmosis as a action.
Click on the Action section, then search and select Docmosis in the "Change action" pop-up. In the "App & event" section, Select "Generate a Document" as Event, then click continue.

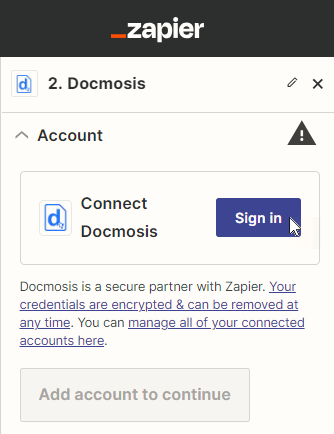
Step 8 : Connect your Docmosis Cloud account to Zapier
To connect Docmosis with Zapier, first click on the "Sign in" button located in the "Account" section.
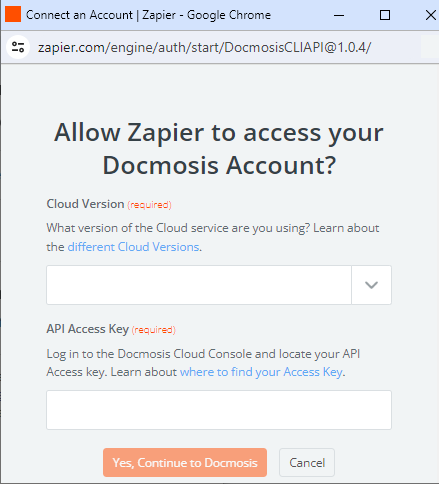
 This will open a new authentication window, where you must
- choose the version of Docmosis Cloud service
- enter your access Key (from Step 4 above)
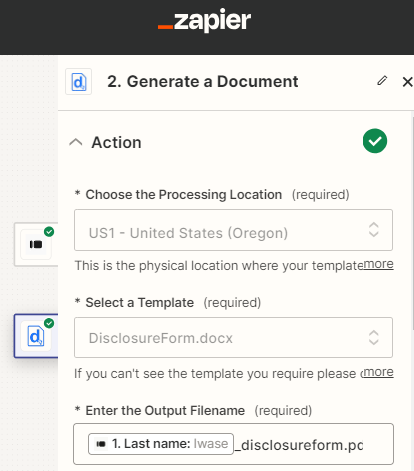
Step 9: Fetch template
In the "Action" section, fetch the template by providing
- Processing Location
- Template Name
Docmosis Cloud service requires a Output filename and data for Placeholders to generate a document.
Note: Output filename must include an extension i.,e ".pdf" or ".docx", this determines the format of the generated document.
Step 10: Map the form fields to the Docmosis Placeholders
To map form submission data with Docmosis Placeholders, simply select the desired form field from the dropdown list.
Note: The Docmosis placeholders are automatically populated once template is selected. The Typeform fields are shown as a dropdown list when the "Enter text or insert data" box is clicked.

Step 11: Set up a email delivery.
This is the easiest way to confirm that all settings are correct. Later on you can add more steps to your Zap to perform further actions with the document.
To setup email delivery enter the email, subject and body of email in the corresponding fields.
Note: From a Docmosis Cloud Free Trail account emails can only be sent to the Docmosis account Admin(s).

Step 12. Test the Zap.
Check your email. The generated document will arrive in the email as an attachment.
That's it! Publish the Zap and every time the form is completed you will receive a generated document.
