Ninja Forms is a user-friendly drag and drop WordPress form builder. Integrating Ninja Forms with Docmosis enables users to send customized documents to form respondents.
This article is a step by step guide, detailing how to:
- Send data collected by a Ninja Forms form to the Docmosis Cloud service using a Webhook
- Generate a PDF using the data
- Deliver a customized PDF to the form respondent via email
You will need
Ninja Forms installed with Webhook addon:
If you don't already have one sign up here.
Docmosis Cloud Account:
If you don't already have a Cloud account, you can sign up for a free trial.
Once you have an account, log in to the Cloud console.
Setup Ninja Forms and integrate with Docmosis
Step 1 : Upload a template to Docmosis.
Docmosis templates are ordinary Microsoft Word documents, with special placeholders that Docmosis replaces with data when it generates the document.
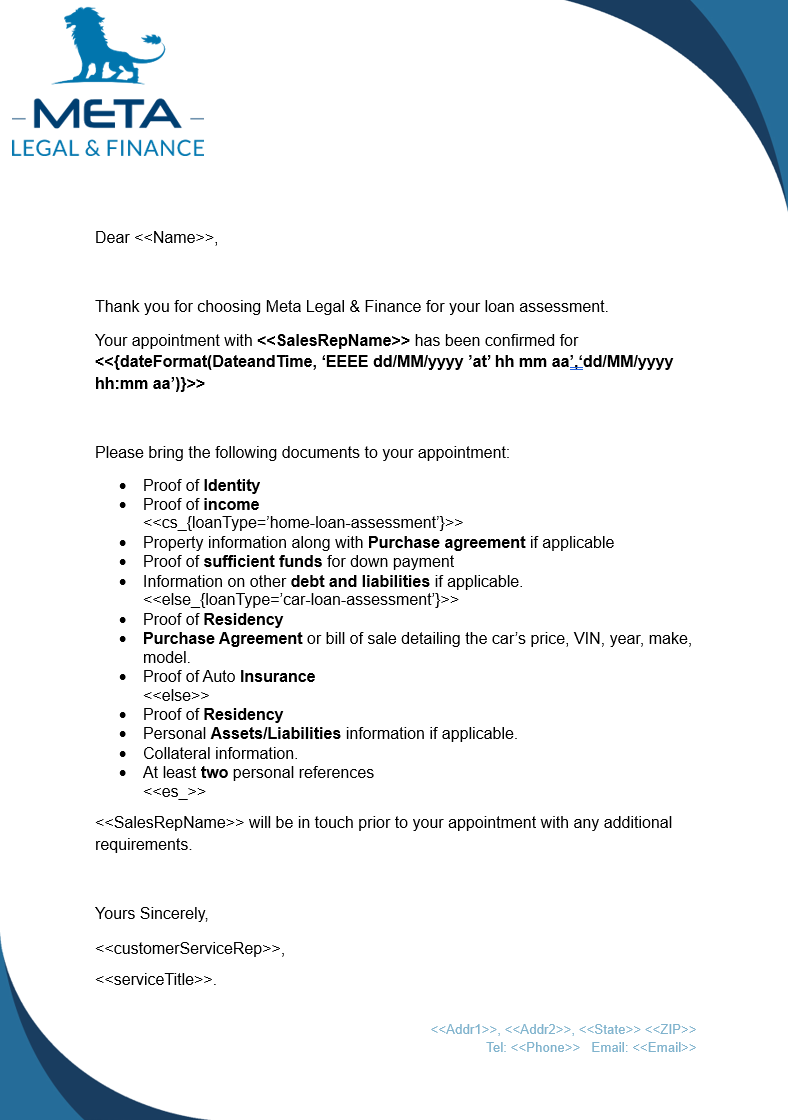
A sample template has been created to demonstrate the integration with Ninja Forms.
The template can be downloaded by clicking on the image or link provided below.
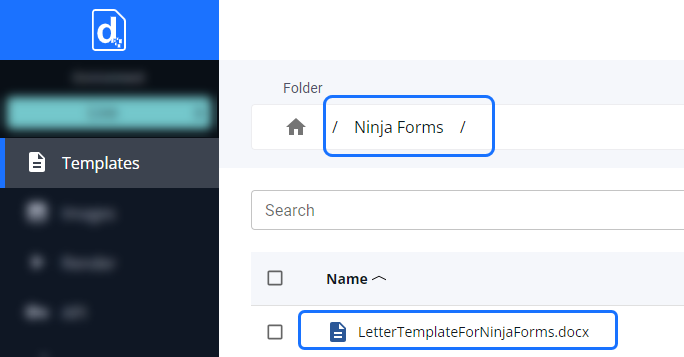
1.A) Create a top-level Ninja Forms Folder for storing the sample template.
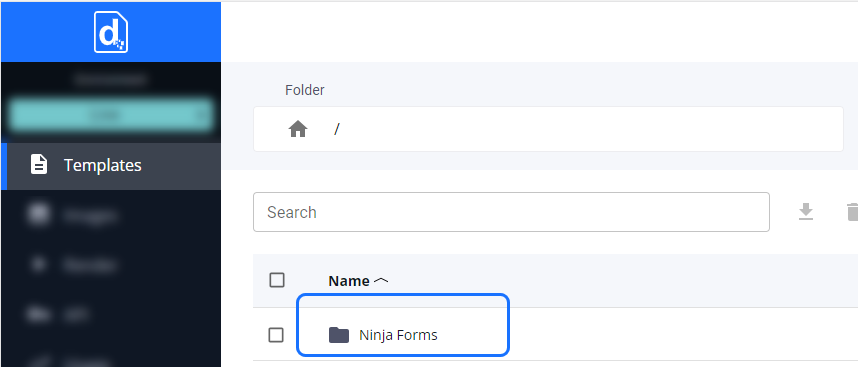
1.B) Upload the LetterTemplateForNinjaForms.docx to the new Ninja Forms Folder in the cloud console.
Step 2: Get the Docmosis Cloud access key and API URL
You will need your access key and URL when setting up the call to Docmosis Cloud API in Ninja Forms Webhook.
Copy these to an editor such as Notepad, to be used later.
Note: In this example, we used the US (Oregon) processing location in the Docmosis Cloud service, for storing the template and generating the document. You can use your default processing location, when following this example.
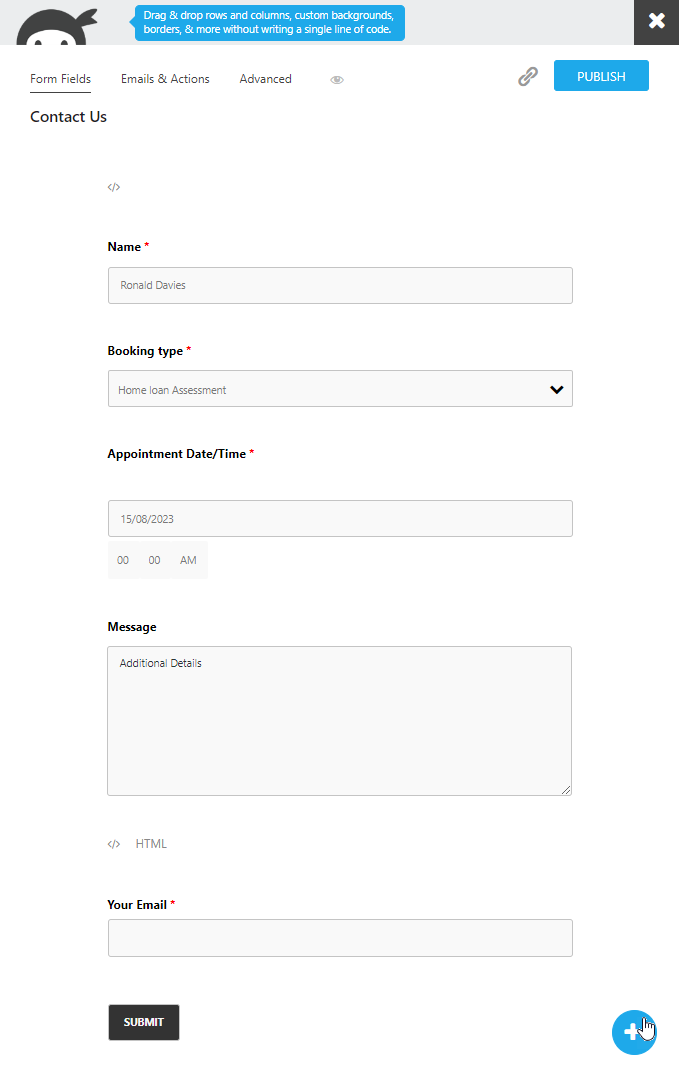
Step 3:Build a form using Ninja Forms.
The sample contact us form from Ninja Forms has been modified to fit the sample template.
Refer to the Ninja Form help documentation to make these modifications.
Your form should look like this:
Step 4 : Add and set up a Webhook Action
The Webhook action will allow Ninja Forms to securely send data to Docmosis Cloud service.
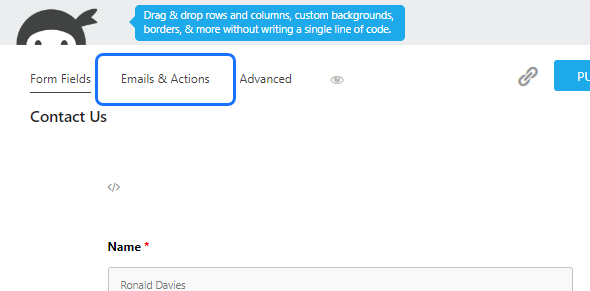
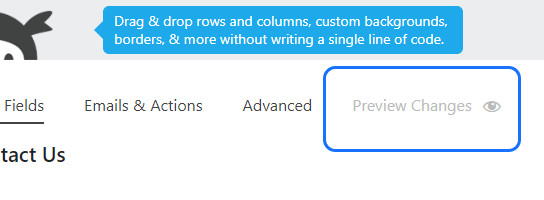
4.A) Click on Emails & Actions in the top menu, Then click on Add an action, and pick Webhooks.
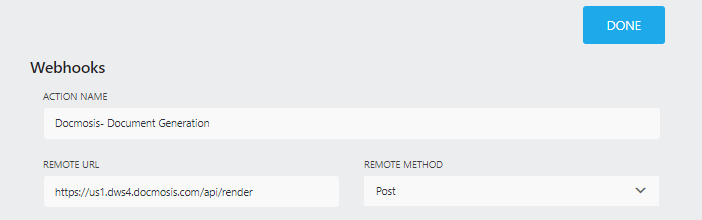
4.B) Set up the Webhook action to talk to Docmosis Cloud service.
- Change the Method to “Post”
- Paste the Base URL(Step 2),for your processing location in the "Remote URL" field and append "/render"
- Optionally change the Action name
Step 5: Map the Docmosis Placeholders to Form Fields.
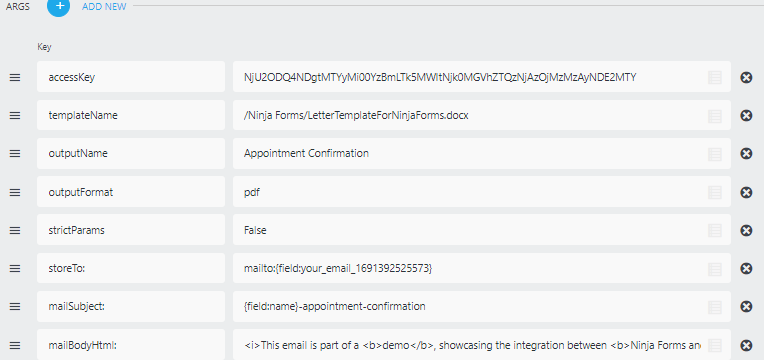
5.A) In the args section, select "ADD NEW" to input data using key-value pairs.
The following Keys must be present when calling /render endpoint. For the full list of available options see the Cloud Web Services Guide.
| Keys | Values | Details |
| accessKey | NjU2ODQ4NDgtMTYyMi00xxxxxxx | Paste in the access key from your Docmosis Cloud account |
| templateName |
/NinjaForms/LetterTemplateForNinjaForms.docx |
The folder name and template name in Docmosis |
| outputName | Appointment Confirmation | The Name of the generated document |
| outputFormat | The format of the generated document | |
| strictParams | False | Set to False as the Keys are a mixture of render instructions and data. |
| storeTo | mailto:This email address is being protected from spambots. You need JavaScript enabled to view it. | Used for delivery of the generated document. |
Note: the mailto: email address must be the same one used to Login to your Docmosis Cloud account. If you are on a free trial, you are restricted to only sending emails to yourself.
Optionally customize the email, with these Docmosis parameters
| Keys | Values | Details |
|
mailSubject: |
{field:name}-appointment-confirmation | Subject line of the email, can be a combination of form fields and static content. |
|
mailBodyHtml: |
<i>This email is part of a <b>demo</b>, showcasing the integration between <b>Ninja Forms and Docmosis<b></i>. | This is the body of email. |
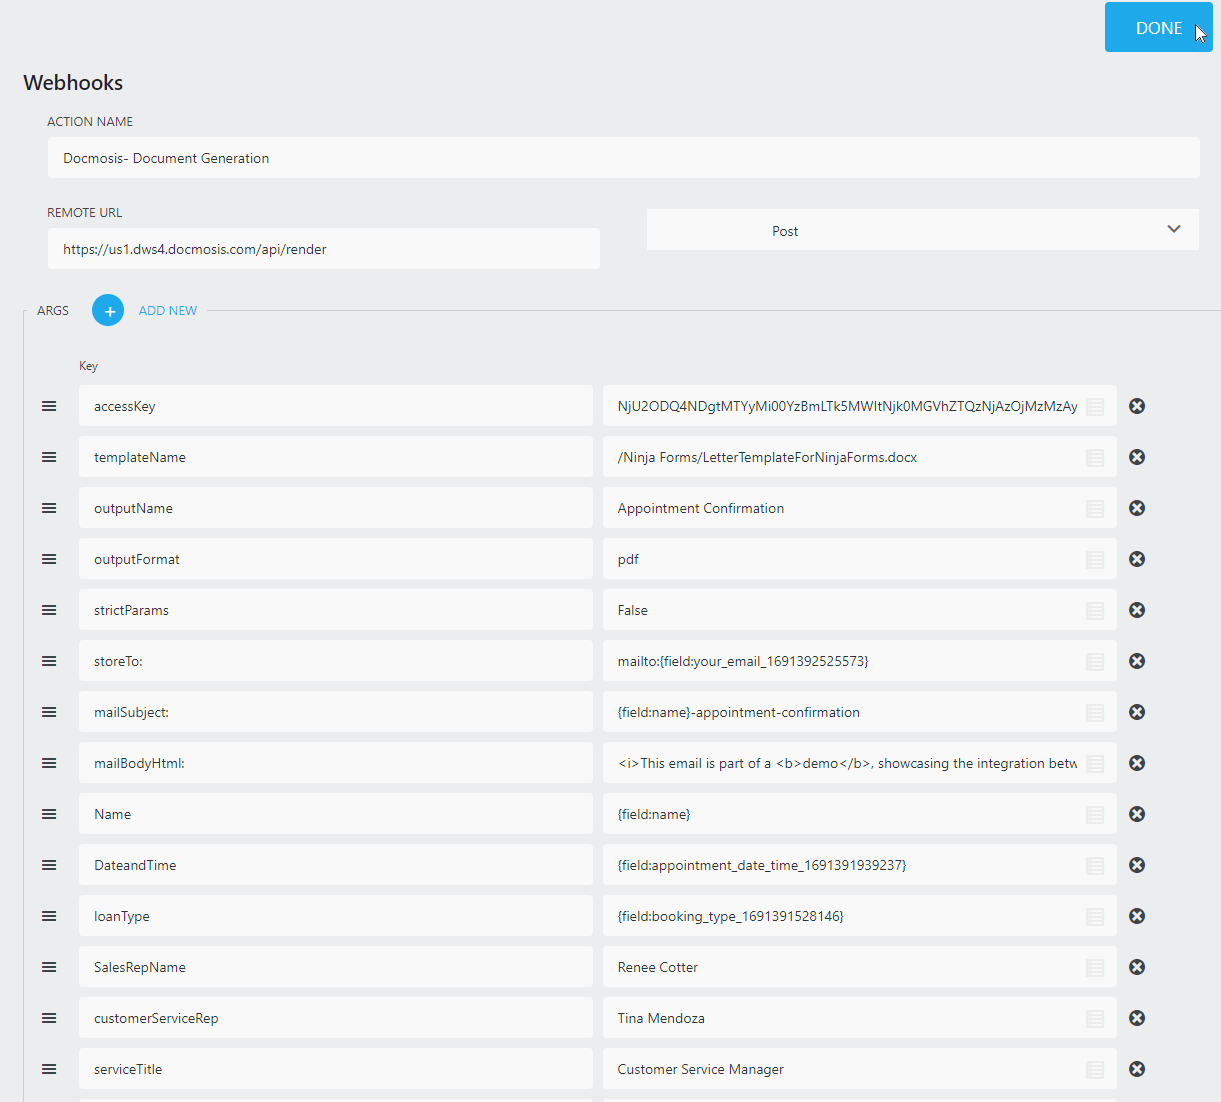
Your Webhook action should look like this:
5.B) Now, map the Docmosis placeholders corresponding to each form field. The hamburger in the value box enables you to pick a form field.
Note: The Docmosis placeholders are case sensitive and must match exactly.
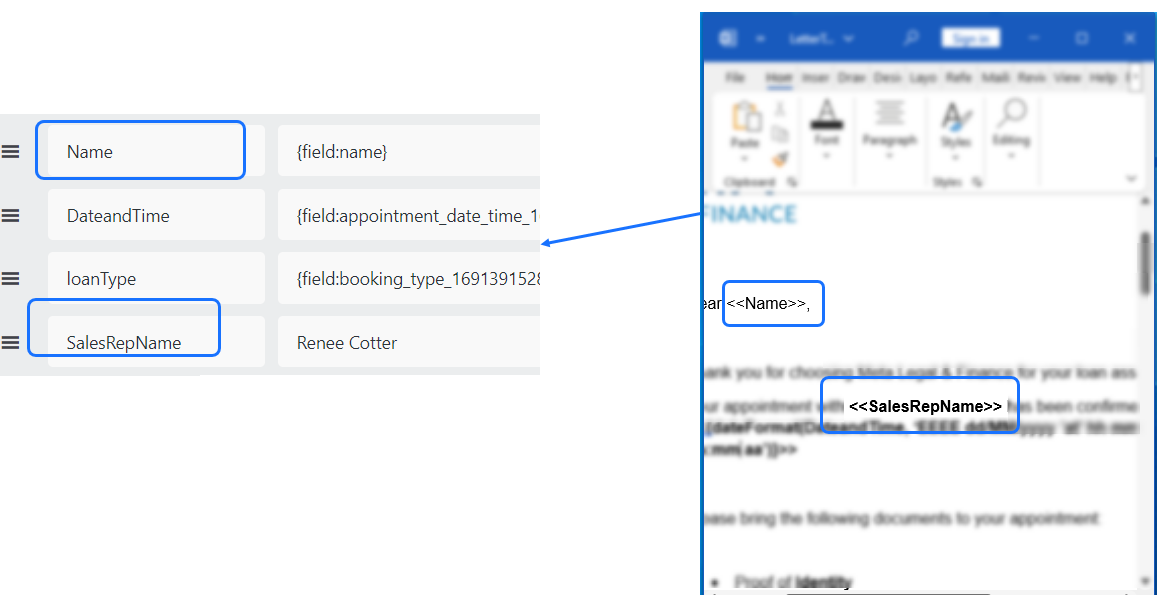
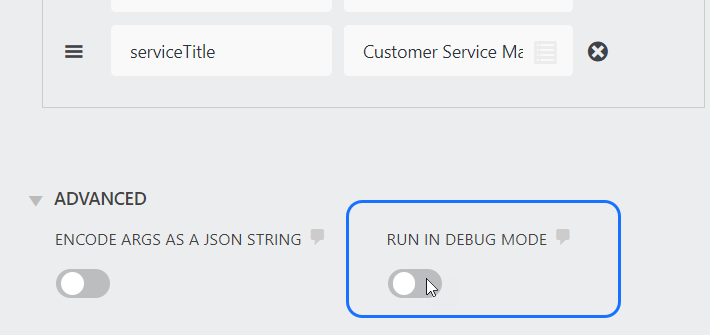
5.C) The following Keys and Values are data that were not collected by the form. Each of the Keys match a placeholder in the template, and they will appear in the generated document.
| Keys | Value |
| SalesRepName | Renee Cotter |
| customerServiceRep | Tina Mendoza |
| serviceTitle | Customer Service Manager |
5.D) Click done and then Publish to save the Webhook.
Step 6: Try the integration
6.A) Click on “preview form”, enter values and submit the form.
The Webhook sends the data to the Cloud service. The service merges the data with TemplateForNinjaForms.docx to generate a PDF document.
The generated document will be sent via email, with the document as an attachment, to the email address that was supplied for the storeTo: field in Step 5.A.
6.C) Check the email.
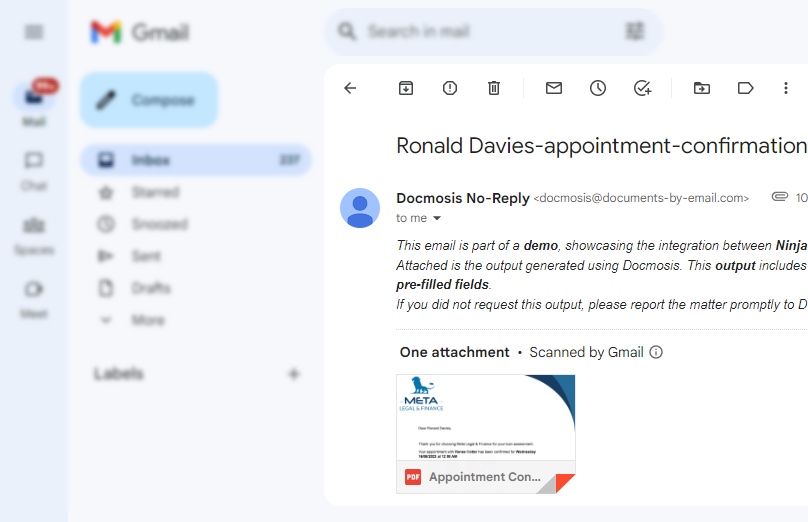
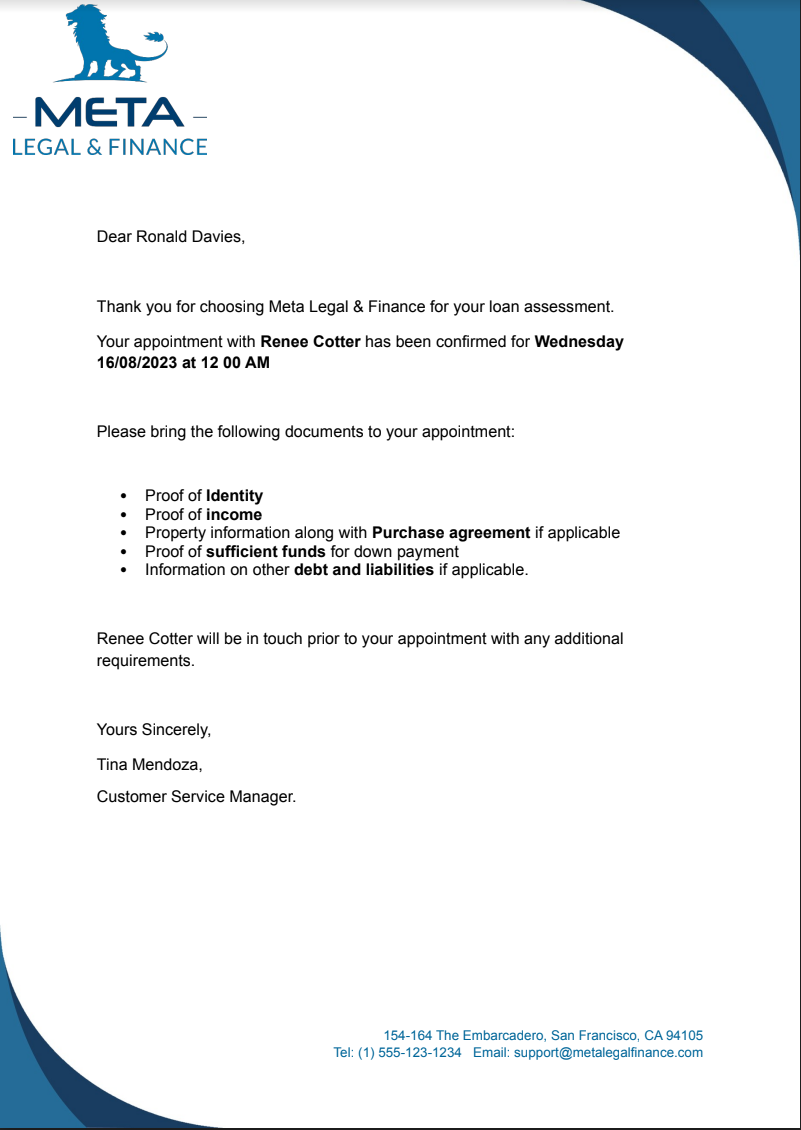
The PDF attachment contains the data captured in the form, and also some of the Custom fields from the Webhook, the body of the letter change based on the appointment type as shown below:
Troubleshooting.
You can enable the debug mode to see the message that Docmosis sends back to Ninja Forms if something goes wrong.