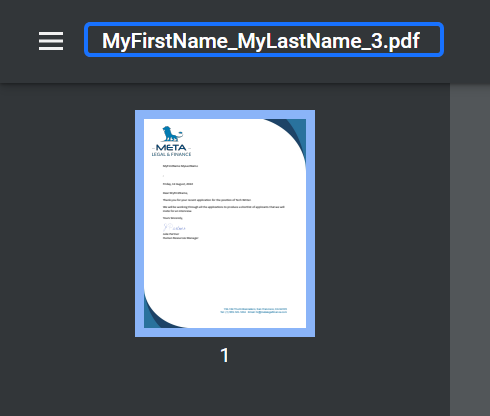
In this article we will show how to set up your Bubble app so that each time a call is made to Docmosis, a different output file name is used for the generated document.
Editing your Bubble app
Two changes are needed to your Bubble app to set the output file name dynamically.
Firstly, you need to configure the API call so that the outputName parameter can be set as part of the workflow step. Secondly, you need to set the outputName parameter to the required value in the workflow step.
Step 1. Set the properties of the outputName parameter in the API call
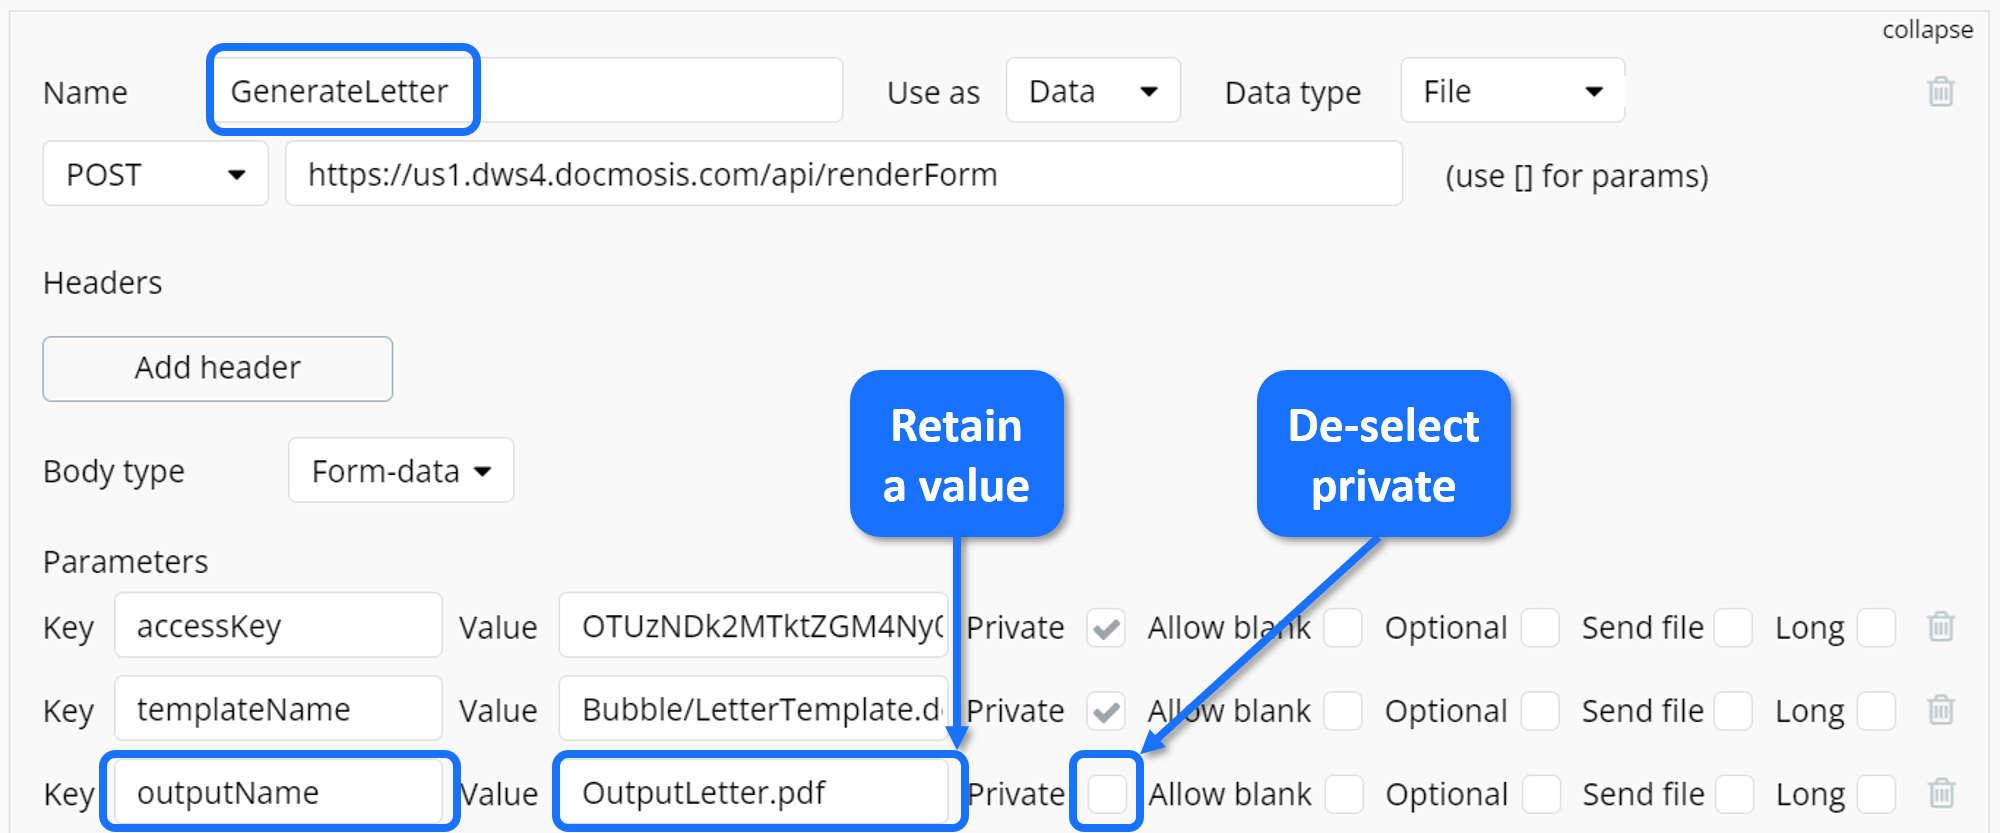
In our first first Bubble article, the outputName parameter is set as Private. This means the value of the outputName is static and is set at the time the call is configured.
To set the outputName dynamically this parameter should not be Private.
1.A) Open the GenerateLetter call.
- Select the Plugins tab.
- Expand the Docmosis API.
- Expand the GenerateLetter call.
1.B) For the outputName parameter, keep the Value, and deselect Private.
Note: A Value is still needed at this point for the Reinitialize Call step to work. But the actual Value that will be used will be set in Step 2 below.
1.C) Click Reinitialize Call.
Step 2. Update the workflow step for creating a new DocmosisFile
Now that the outputName parameter is no longer Private, its value can be set as part of the Create a new DocmosisFile workflow step.
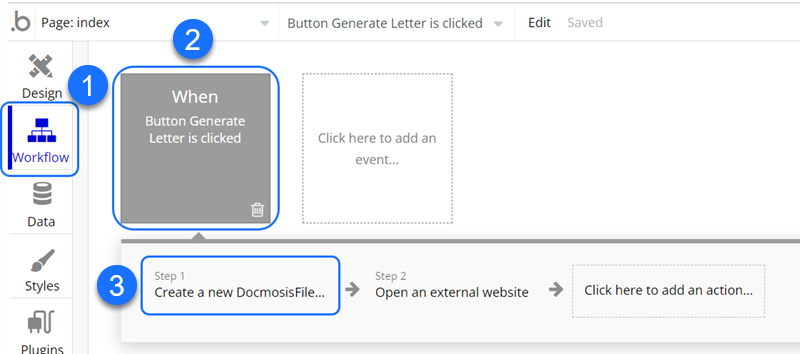
2.A) Select the Workflow tab.
2.B) Select the event When Button Generate Letter is clicked.
2.C) Select the step Create a new DocmosisFile to edit it.
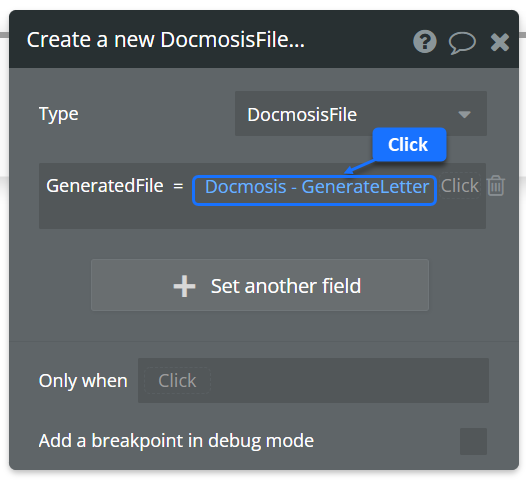
2.D) In Create a new DocmosisFile, select the API Provider Docmosis - GenerateLetter.
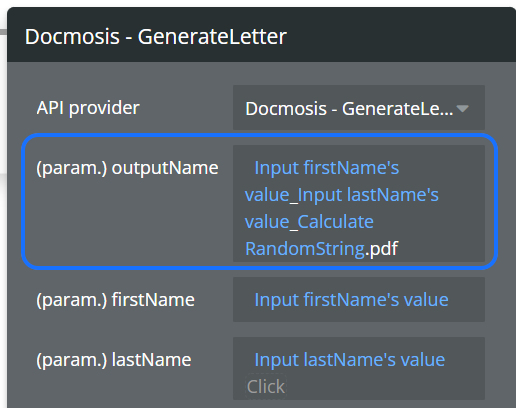
2.E) The outputName parameter can now be set as a file name made up of: values from the form, values from Bubble functions, static text and a file extension.
In this example, we have a value made up of: the firstName and lastName form fields; followed by random number (formatted as string); and finishing with .pdf (for the file extension).
Step 3: Generate a Document
The generated PDF will now have the file name assigned in Step 2.E.
