This example shows an effective way to create a “global letterhead” using sub-templates.
This means a set of templates can access a common copy of the letterhead to achieve consistent branding across all generated documents. If the letterhead requires future modifications, then changes only need to be made in one place, not to every template!
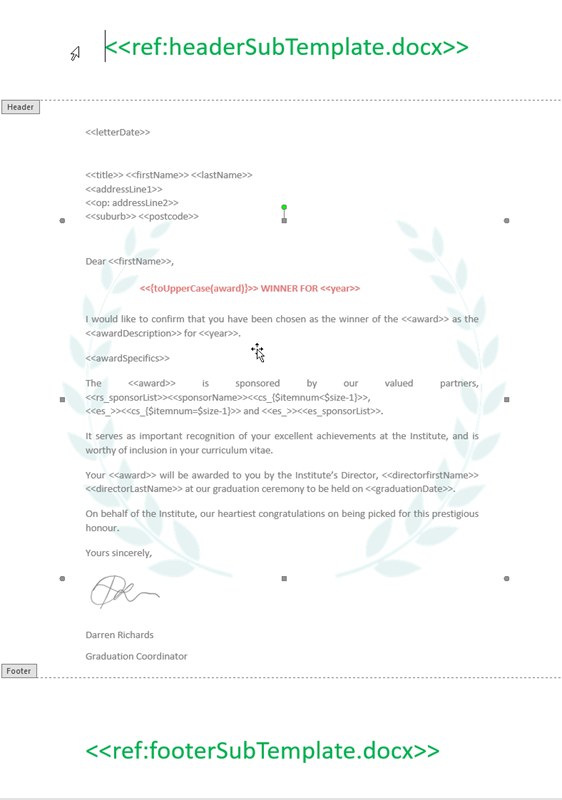
This example also demonstrates how to add a “wreath” watermark to the body of the letter.
This example in detail
This example uses sub-templates, a picture watermark, and a comma-separated list.
Using a global letterhead
For this example, the letterhead has been created as two separate images; a header image and footer image. Two smaller images enable faster rendering than one large page-sized image with white space in the middle.
To create the appearance of a letterhead:
- Create a sub-template called headerSubTemplate.docx that contains the header image.

- Create a sub-template called footerSubTemplate.docx that contains the footer image.

To pull the “letterhead” into the master template:
- Use the <<ref: instruction to directly reference the header and footer sub-templates in the main template; awardLetterTemplate.docx
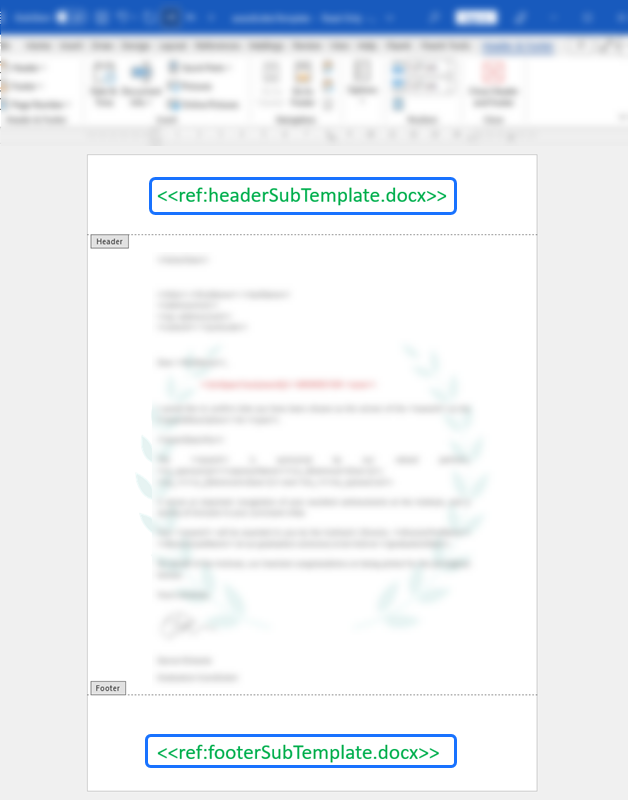
For more information and technical examples on using sub-templates, see Master/Sub Templates
Creating the header and footer sub-templates
The images must be added to the body in the sub templates as the header and footer regions in sub-templates are ignored when generating the document.
In the body section of a blank Word document, insert the header image (or footer image) from Pictures on the Insert ribbon tab.
- Choose Picture Format tab > Position > More Layout Options window.
- On the Text Wrapping tab, select Behind Text.
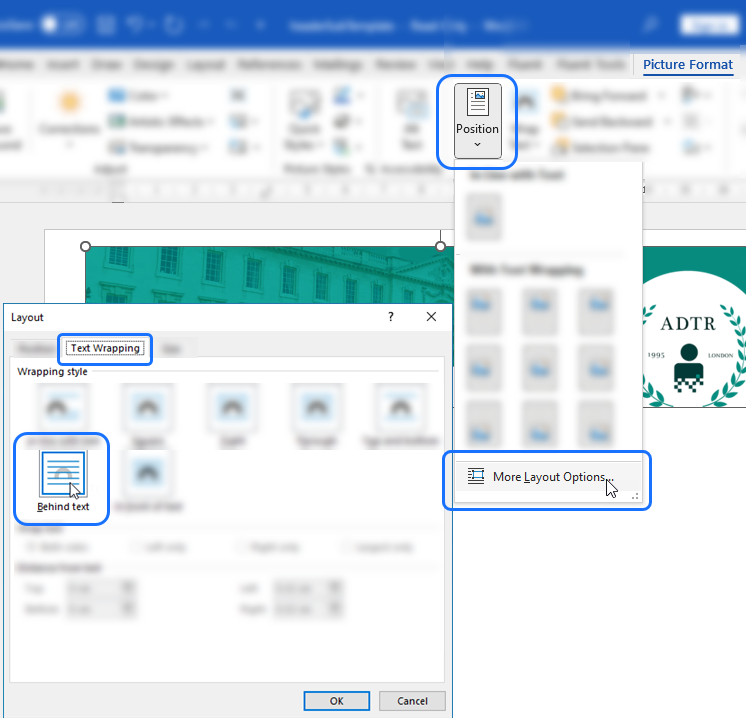
- On the Position tab, choose a Centered Top alignment for the header image. Press OK.
(Choose a Centered Bottom alignment for the footer image)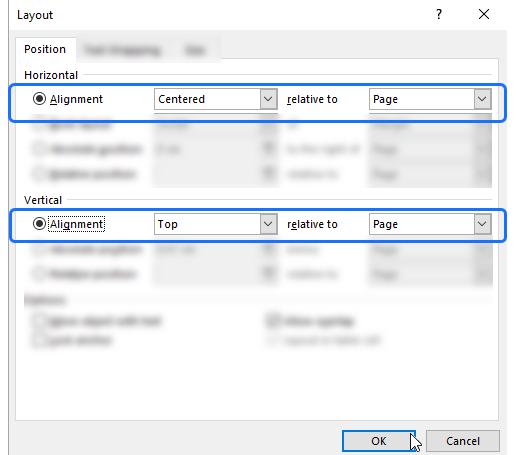
With the image now anchored and positioned, use the image handles to stretch the header or footer image to match the width of the page.
Applying a picture watermark
To insert the wreath image as a watermark in the body:
- On the Design tab, select Watermark.
- Select Custom Watermark, and then choose Picture Watermark.
- Click Select Picture, choose the wreath image, and select Insert.
- Retain Auto scaling and uncheck the Washout option and click OK.
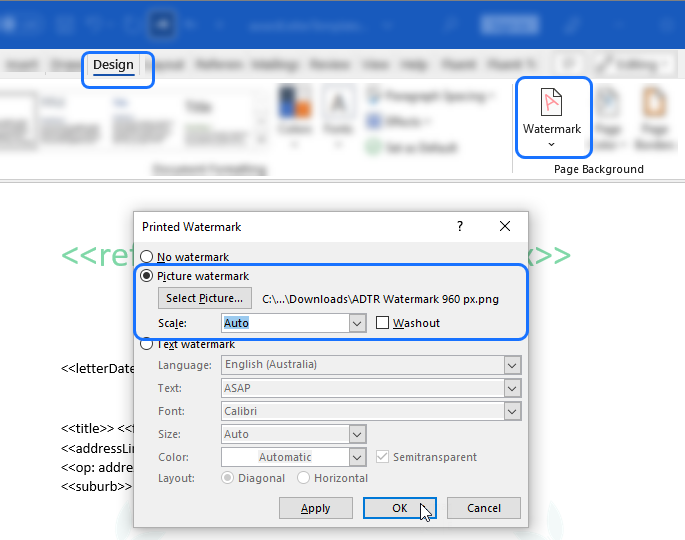
In this example the wreath image is already translucent by design but for opaque images tick the Washout checkbox.
By default, the watermark is centered on the page, but it is easy to change its position.
To move the watermark:
- Double-click at the top of the page to open the header.
- Click the watermark to select it.
(Try moving the cursor over the watermark until it switches to a four-headed arrow.) - Drag the watermark to the desired position.
Showing a comma separated list
The output letter includes this sentence with a list of the sponsors.

The sponsors are obtained from the sponsorList array in the data.

The code is designed to show the sponsors separated by commas with an “and” between the last two sponsors.

For a detailed explanation on comma separated lists, see This, This and That


